
A Beginner's Guide to Kite Repair Adhesives: Glues, Tapes and When to Use Each
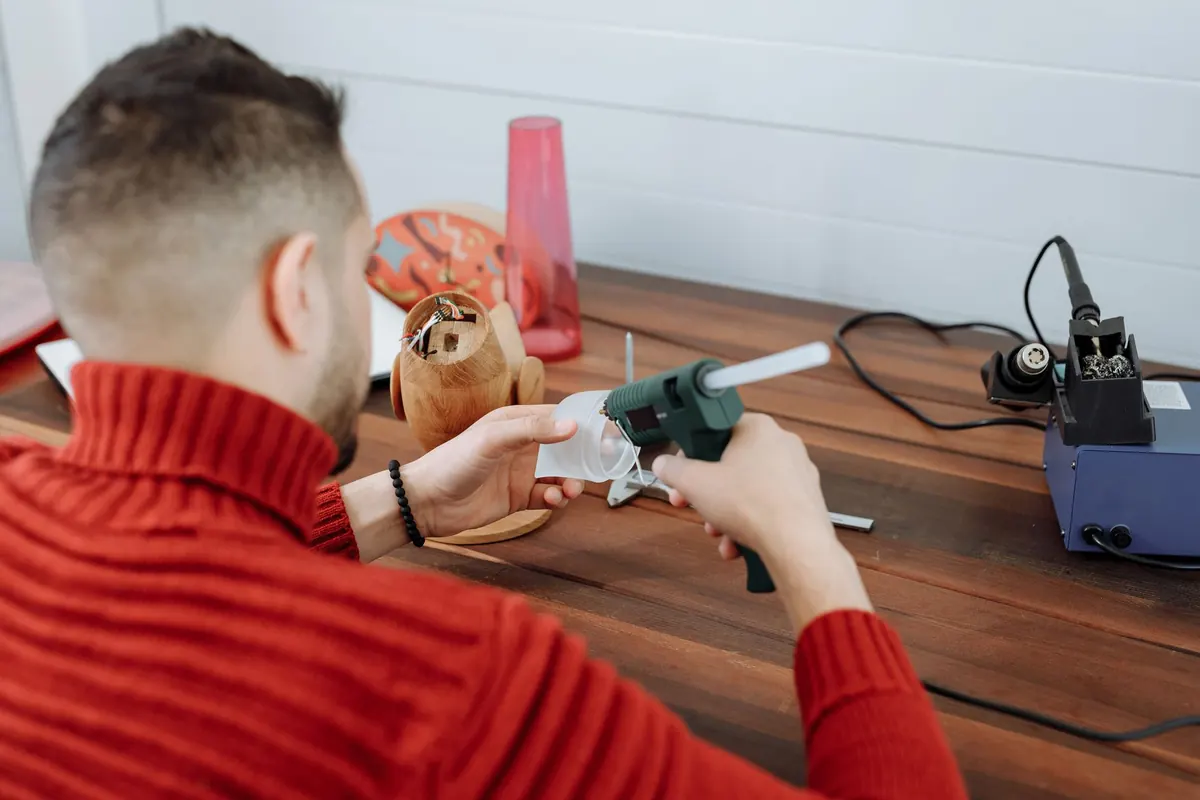
Every kite repair begins with the same question: what actually broke, and what material did it break on? A pinhole in an inflatable bladder and a two-centimetre tear in a ripstop sail look much the same in the bag, but they want completely different adhesives. Choose badly and you will spend a weekend chasing a repair that peels, leaks, or stiffens the cloth until it cracks along the edge of the patch.
What follows is a working guide to the four adhesives worth keeping in a kite bag — contact adhesive, repair tape, polyurethane glue and seam sealant — with notes on the materials each one suits.
Know the material before you open the glue
Kites are built from a small family of fabrics, and each behaves differently under glue. Ripstop nylon and polyester take adhesive well, but the coating matters more than the weave. A silicone-coated fabric shrugs off most pressure-sensitive tapes and rubber adhesives; a polyurethane-coated one usually accepts them happily. Dacron, used for leading edges and load patches, is stiff and porous enough that thin glues soak straight through it. Mylar laminates and lightweight spinnaker cloth are slippery and heat-sensitive, so they need tape or a very light touch with solvent-based products.
Before committing, do two things. Clean the area with isopropyl alcohol or warm water and a little washing-up liquid, rinse properly, and let it dry completely — salt, sand and sunscreen are the enemies of every adhesive. Then test on an offcut or a hidden corner. A five-minute test beats an hour of regret.
Contact adhesive: strong, flexible, unforgiving
Rubber-based contact adhesive is the heavy-duty option. You spread a thin coat on both surfaces, wait until it stops being wet and starts feeling tacky — anything from five to twenty minutes depending on the product and the weather — then press the two together firmly and roll or rub the joint down.
It grips immediately and stays flexible, which makes it ideal for non-porous, high-stress repairs: bladder patches, rubber valves, Dacron reinforcements, leading-edge wear points, and the occasional spar pocket. It does not run, it fills small gaps, and it copes with the flexing that a sail sees every time the kite turns.
Its weaknesses are equally clear. It is messy, it strings, and it soaks into porous fabric rather than sitting on top. It is not the right choice where you need a flat, invisible repair, and it will not help you close a seam. Work outside or with the window open, keep it off your fingers, and note that many contact adhesives can be reactivated with gentle heat if a corner lifts later.
Repair tape: the field fix that earns its keep
Self-adhesive ripstop and spinnaker tape is the first thing you should reach for on the beach. It is fast, clean, needs no cure time, and a well-applied patch will hold for a whole session and often a whole season. Buy it in two colours if you care how the repair looks, and keep a strip wrapped around a spare line winder in your bag.
Tape fails for predictable reasons: dirty surface, a cold or damp day, square corners that catch on everything, and stretching the tape as you apply it. The fix is mostly technique.
- Cut a patch that overlaps the damage by at least a centimetre on every side.
- Round the corners with scissors — this single step prevents most lifting.
- Clean the fabric, then let it dry fully.
- Lay the patch flat without stretching it, and press hard from the centre outwards with a thumb, a spoon, or a credit card.
- Warmth helps adhesion. A minute in a warm place, or rubbing the surface with your palm, makes a noticeable difference.
For a tear that will be under load, patch both sides: one piece inside the sail, one outside, offset so the edges do not line up. Tape is not structural, so treat it as a first aid measure on a seam and plan a proper repair later.
Polyurethane glue: gap-filling and long-term strength
Polyurethane glue cures with moisture, expands slightly as it sets, and finishes flexible and waterproof. That expansion is both its party trick and its hazard. It fills loose gaps around fittings, spar pockets, and worn stitch lines on Dacron where you cannot clamp the two surfaces tight together, but it will foam out of a tight joint and leave an ugly bead if you use too much.
Use it sparingly, dampen one surface lightly with a mist of water, and hold everything in place with tape or clamps for the first hour. Full cure takes several hours, sometimes overnight in cool conditions. Wear gloves; it stains skin for days. Do not use it where you need a thin, flat line — that is tape's job.
Seam sealant: for stitches, valves and slow leaks
Seam sealant is a thin polyurethane gel sold in small tubes for outdoor gear. It flows into stitch holes, dries clear and flexible, and is the right answer for weeping seams, valve bases, bladder valves and pinholes too small to patch properly.
Apply a thin bead and work it in with a fingertip or a small brush, then leave it alone for a day. Thick blobs take far longer to cure and look worse. One important caveat: sealants are not interchangeable across coatings. A silicone-based sealant is what you need on silicone-coated fabric, and a polyurethane one on polyurethane-coated cloth. Mix them up and the sealant simply beads off.
Matching the adhesive to the job
- Pinhole or small puncture in a bladder or inflatable spar: contact adhesive patch, applied to both surfaces and pressed firmly.
- Short tear in the middle of a sail: repair tape, both sides, corners rounded.
- Fraying or weeping seam: seam sealant worked into the stitches; tape over the top only if the cloth is sound.
- Loose fitting, spar pocket or worn Dacron reinforcement: polyurethane glue, used sparingly.
- Silicone-coated fabric: silicone sealant or a tape rated for it — nothing else will hold.
- Broken thread at a hard point: re-stitch if you can. Superglue is brittle and cracks under flex, so keep it for tidying thread ends, not for holding a kite together.
Build a small kit and practise before you need it
You do not need much: a roll of ripstop tape, a small tube of contact adhesive, a tube of polyurethane glue, a tube of seam sealant, scissors, isopropyl wipes and a couple of clean rags. Keep it in a sealed bag so sand stays out of the caps.
Then practise on the offcuts you inevitably have lying around. Glue two scraps of ripstop together and try to pull them apart. Tape a patch on a scrap of Dacron and leave it in the sun for a week. You will learn more from that hour than from any amount of reading, and when the real puncture arrives — usually at the far end of a beach with the wind filling in — you will already know exactly which tube to reach for.
Photo: Thirdman / Pexels