
Kite Repair Tool Kit Essentials: What to Carry in Your Flight Bag
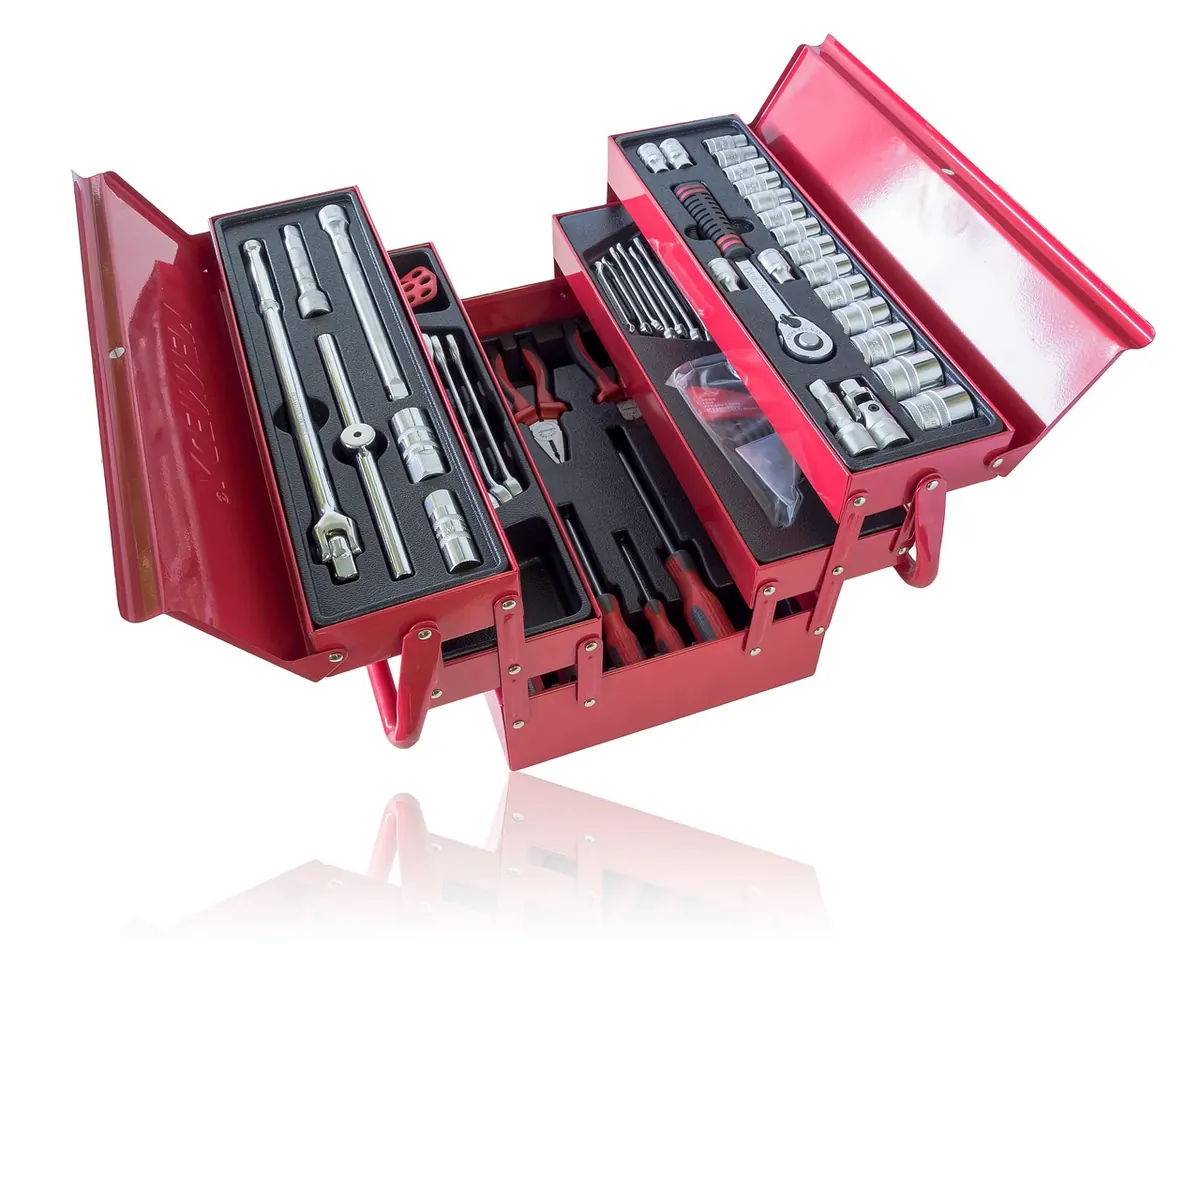
A long walk back to the car with a limp kite is its own kind of annoyance. Most of the damage that ends a session early — a split leading edge, a bridle line chafed through, a torn panel flapping at the trailing edge — can be sorted on the grass in ten minutes. The difference between flying on and packing up is usually a small, unglamorous pouch of tools you remembered to bring.
What follows is a working checklist for a flight bag, built around what actually fails rather than what looks good in a catalogue. Adjust the quantities to suit your kites, but keep the categories.
Triage first: know what is worth fixing on the spot
Not everything should be repaired in the field. A tidy patch on a single-skin sail at the beach beats a rushed job at home, but a torn bridle attachment point or a cracked spar fitting often needs more time and better light than a windy afternoon offers.
A rough rule of thumb:
- Fix now: small tears in single-skin or dual-line sails, chafed bridle line, a spar that has split but not shattered, missing nocks and stoppers, worn line ends.
- Fix later: structural damage at a bridle attachment point, delamination along a leading edge, bladder punctures you cannot locate, anything that needs epoxy to cure properly.
If a repair needs two hands, a clean surface and half an hour of thinking, do the minimum to get home and do it properly there.
Cutting and sticking: the everyday layer
Most field repairs are tape and scissors jobs, so those two earn their space before anything else.
Tapes
Carry spinnaker tape — a thin, self-adhesive ripstop nylon tape that matches the weight of most kite sails — and a roll of clear repair tape for lighter fabrics. Both stick to a clean, dry surface and stay flexible. Gaffer tape holds well but leaves a gummy residue that is hard to shift, and it is heavy on a leading edge. If you have to use it in an emergency, treat it as a get-home fix and remove it as soon as you can.
Tape only sticks reliably to a clean surface, so a couple of alcohol wipes or a small cloth make the difference between a patch that holds all afternoon and one that peels at the first gust. Round the corners of any patch before you apply it; square corners lift first.
Scissors and blades
A small pair of sharp, pointed scissors, ideally with a sheath, cuts tape, line and fabric. Blunt kitchen scissors shred ripstop and turn a neat patch into a mess. Add a hot knife or a small soldering iron if you fly often: it cuts and seals synthetic fabric and line in one pass, so edges stop fraying. A lighter does a passable job on line ends — just keep the flame away from sails and out of the wind.
Line, bridles and everything tied
Line fails quietly. It chafes against a spreader, a sheath wears through on a pulley, a knot slips under load. A few metres of spare bridle line in the right diameter is one of the lightest things you can carry and one of the most useful.
Match the line to the job. Bridle line is not flying line, and flying line is not a tow rope. If you replace a flying line, use the same type and strength as the others; mixing diameters changes how the kite flies and loads one line harder than the rest.
- A spare bridle line in the diameter your kite uses
- Two or three metres of line for repairs and pigtails
- Spare line ends, sleeving or pre-made loops if your kite uses them
- A small fid or darning needle if you splice rather than knot
Learn two knots properly and practise them: a lark's head for attaching line to a bridle or kite, and a figure of eight loop for making a reliable loop in a line end. A neat knot you trust beats a clever knot you half remember.
Spars, ferrules and hard parts
Rod damage is common because spars take the load. Carry a length of carbon or aluminium tube in the diameter your kite uses, plus a short piece of slightly larger tube that can act as a splint over a split. Tape the splint in place, keep the load off it and treat the repair as temporary.
A sheet of fine sandpaper, around 400 to 600 grit, is worth its tiny weight. Smooth rough spar ends and burrs before they saw through the sail, and take the sharp edge off a freshly cut tube. Add a fine-toothed saw blade if your spars are long enough to need cutting, and wrap the cut end with a turn of tape afterwards.
The small tools drawer
None of these are glamorous, and all of them have saved a session at some point:
- Needle-nose pliers and side cutters for stubborn knots and line
- A sailmaker's needle and waxed thread for seams and strap repairs
- A sewing awl for heavy webbing and attachment points
- Cable ties and a short length of bungee cord
- A small multi-tool with a screwdriver and blade
- A permanent marker for marking line and bridle positions
- Replacement nocks, stoppers, ferrules, pulleys and valves
- A bladder patch kit if you fly inflatables
Add a small head torch if you fly into the evening, and keep tape in its own zip bag — grit on a roll of tape is the fastest way to ruin it.
Packing it so you will actually use it
A tool kit that lives loose at the bottom of a bag gets left at home. Put everything in one small pouch — a pencil case or wash bag works well — and keep that pouch in the flight bag permanently. Weigh it once. If it is over a kilogram, you are carrying things you will never touch.
The discipline that keeps a kit useful is simple: replace anything you use as soon as you get home. A pouch with one strip of tape and no spare line is worse than no pouch at all, because you will count on it.
Field repairs you can finish before the wind drops
When something goes, work in order. Land the kite and secure it. Find the true failure rather than the obvious one — a tear often starts at a stress point a hand's width away. Clean and dry the area. Apply the smallest patch that covers the damage, pressing from the centre outwards. Check that the repair does not foul a bridle or alter the shape of the sail. Then fly gently for a few minutes before committing to a full session.
Done well, most of these repairs take less time than the walk back to the car. Carry the kit, replace what you use, and a broken kite becomes an interruption rather than the end of the day.
Photo: jeanvdmeulen / Pixabay