
How to Repair an Inflatable Kite Bladder: Pinhole Leaks and Valve Seals
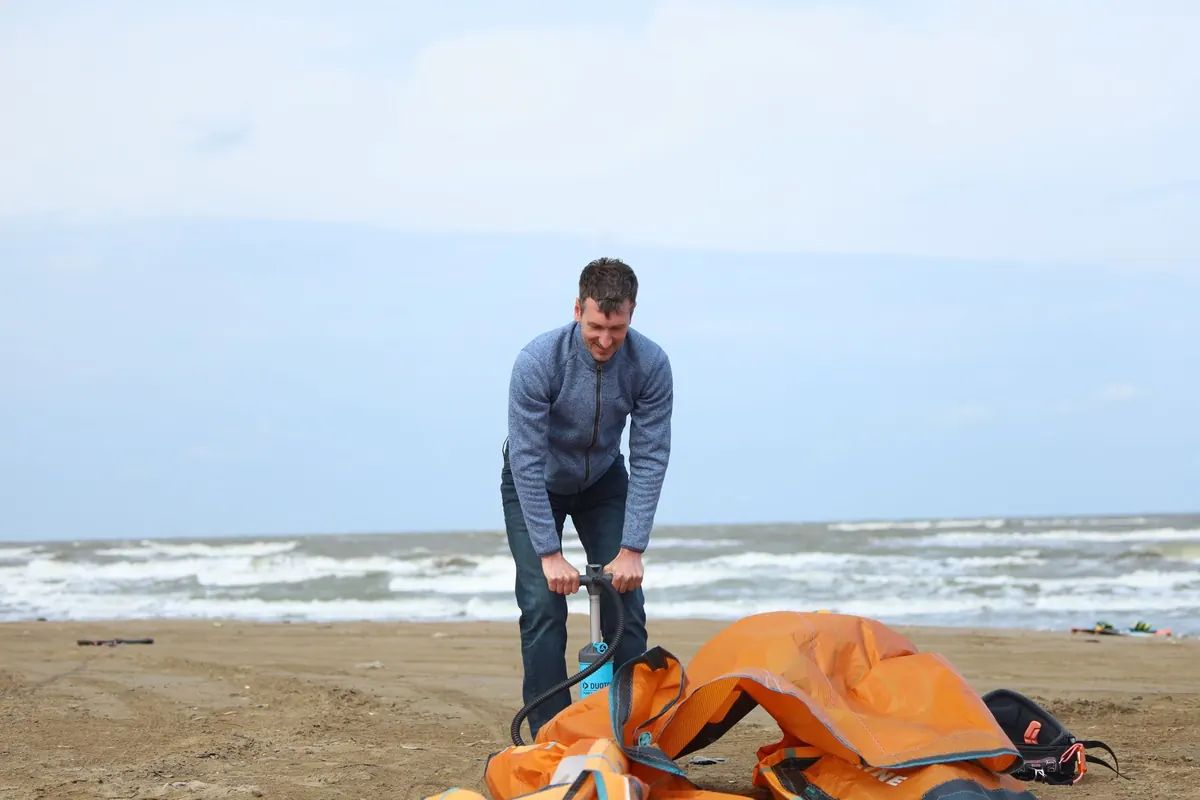
A slow leak can ruin a session faster than a dropped kite. You pump up, launch, and twenty minutes later the leading edge is soft. The culprit is often a pinhole in a bladder or a valve that has started to weep. Both are fixable at home with a little patience and the right approach. This guide walks you through locating the leak, patching it properly, and getting the valve sealing again so you can get back on the water.
What You Will Need
Before you start pulling bladders out, gather everything in one place. A missing item halfway through a repair is how kites end up with twisted bladders.
- Bladder repair patches or dedicated bladder repair tape
- Isopropyl alcohol (IPA) or methylated spirits for cleaning
- Clean, lint-free cloths
- Talcum powder (unscented is best)
- A large bucket or tub
- Spray bottle with soapy water
- Pump with a pressure gauge
- Blunt tool, such as a rounded pen or plastic spoon handle
- Replacement valve or O-rings if the valve is damaged
- Silicone grease (only if your valve manufacturer recommends it)
Finding the Leak: Soap, Water and Patience
You cannot patch what you cannot find. Most pinholes are tiny, often caused by sand, a sharp fold, or a worn spot against the kite’s internal seams. Start with the bladder still inside the kite if the leak is slow and you suspect a valve. If you suspect a pinhole, removing the bladder gives you a much better chance of pinpointing it.
The Soapy Water Method
Mix a few drops of washing-up liquid with water in a spray bottle. Inflate the bladder to a low pressure—just enough to make it firm but not tight. Spray the soapy solution along the seams, around the valve base, and over any scuffed or creased areas. Watch for bubbles that grow or persist. A pinhole will often produce a fine stream of tiny bubbles. Mark the spot with a pencil or a piece of chalk. Do not use a permanent marker directly on the bladder; the solvent can weaken the material.
The Bucket Test
For stubborn leaks, the bucket test is more reliable. Inflate the bladder gently, then submerge it section by section in a tub of water. Hold it under and look for a stream of bubbles. Rotate the bladder slowly. If you have a very slow leak, leave each section under water for ten to fifteen seconds. Mark the leak immediately, because once the bladder is dry it can be hard to remember exactly where it was.
Tip: If you cannot find the leak after two passes, inflate the bladder a little more. A pinhole that stays closed at low pressure will often open up when the bladder is firmer. Do not overinflate—just enough to put the material under tension.
Removing the Bladder Without Causing Damage
Deflate the kite completely. Open the zip at the valve end and locate the string that runs through the bladder. Most kites have one; if yours does not, you can tie a length of thin cord to the bladder’s end before you pull it out. This string is your best friend when it comes to refitting.
Pull the bladder out slowly and evenly. If it resists, stop and check for twists or a caught seam. Never yank. A stretched bladder is a bladder that will leak again. Once the bladder is free, lay it flat on a clean surface. Inspect the whole length for abrasion, thinning, or folds that have become permanent. Those areas are future leaks.
Patching a Pinhole Leak
A proper patch is simple, but the preparation matters more than the patch itself. Rushing the cleaning step is the most common reason a repair fails.
- Clean the area. Wipe the bladder around the leak with IPA or methylated spirits. Let it dry completely. Do not touch the cleaned area with your fingers.
- Cut your patch. Use a round or oval patch, about 1–2 cm larger than the hole. Sharp corners peel up. If you are using repair tape, cut it with scissors rather than tearing it.
- Apply the patch. Peel the backing and press the patch onto the bladder, starting from the centre and working outwards. Push out any air bubbles. If you are using glue, follow the instructions on the tube and allow the recommended cure time before inflating.
- Dust with talc. Once the patch is secure, dust the area with talcum powder. This stops the patch from sticking to itself or the inside of the kite.
- Test again. Inflate the bladder gently and repeat the soapy water or bucket test. If bubbles still appear, the leak is either elsewhere or the patch is not sealing. Remove the patch, clean again, and start over.
Reseating Valves and Stopping Valve Leaks
Valve leaks are often mistaken for pinholes. You pump up, the kite feels firm, and then it slowly goes soft. The leak is at the valve base or through the valve core. Before you remove anything, check the simple things: is the valve cap tight? Is there sand in the valve seat? A grain of sand can hold a valve open just enough to let air escape.
Valve Base Leaks
If the valve base is leaking, first check the retaining nut or collar. It should be snug, not gorilla-tight. Over-tightening can crack plastic or distort the seal. If tightening does not help, deflate the bladder, remove the valve, and clean the mating surfaces. Inspect the gasket or O-ring. If it is flattened, cracked, or missing, replace it. Refit the valve and tighten it evenly. Some valves use a silicone sealant from the factory; if yours does, a thin smear of silicone grease on the O-ring is usually enough, but only if the manufacturer recommends it.
Valve Core and O-Ring Leaks
A leaking valve core is often the easiest fix. Many valves have a removable core that unscrews with a small tool. Replace the core if it is damaged, or clean it and apply a tiny amount of silicone grease to the O-ring. Do not use petroleum jelly; it can degrade rubber. If the valve body itself is cracked, replacement is the only reliable option. A cracked valve will never seal properly, no matter how much grease you use.
Reassembly and Pressure Testing
Dust the repaired bladder with talc before you slide it back into the kite. This reduces friction and helps prevent twisting. Tie your pull string to the end of the bladder, then feed the bladder into the sleeve while a helper holds the kite straight. Pull gently from the valve end. If the bladder starts to bunch up, stop and work it through by hand.
Once the bladder is in, inflate the kite slowly to its recommended pressure. Listen for hissing. Spray soapy water around the valve and along the seam where the bladder sits. Leave the kite inflated for an hour. If it holds pressure, you have fixed it. If it still leaks, do not assume the repair failed. Re-check the valve first. Valve leaks often masquerade as pinholes.
Keep It Simple, Keep It Flying
A pinhole patch costs very little and takes twenty minutes once you have done it a couple of times. A new bladder costs more and can take days to arrive. Keep a small repair kit in your car or kite bag: patches, IPA wipes, talc, and a spare valve core. If the bladder is torn beyond a pinhole, or the valve housing is cracked, replacement is the sensible choice. For structural damage to the kite itself, speak to a repair specialist. But for the common pinhole and the weepy valve, you now have a method that works. Fix it at home, then get back to the water.
Photo: Serg Alesenko / Pexels